Using Sandpack Vue Components
This guide provides an overview of the sandpack-vue ↗ package.
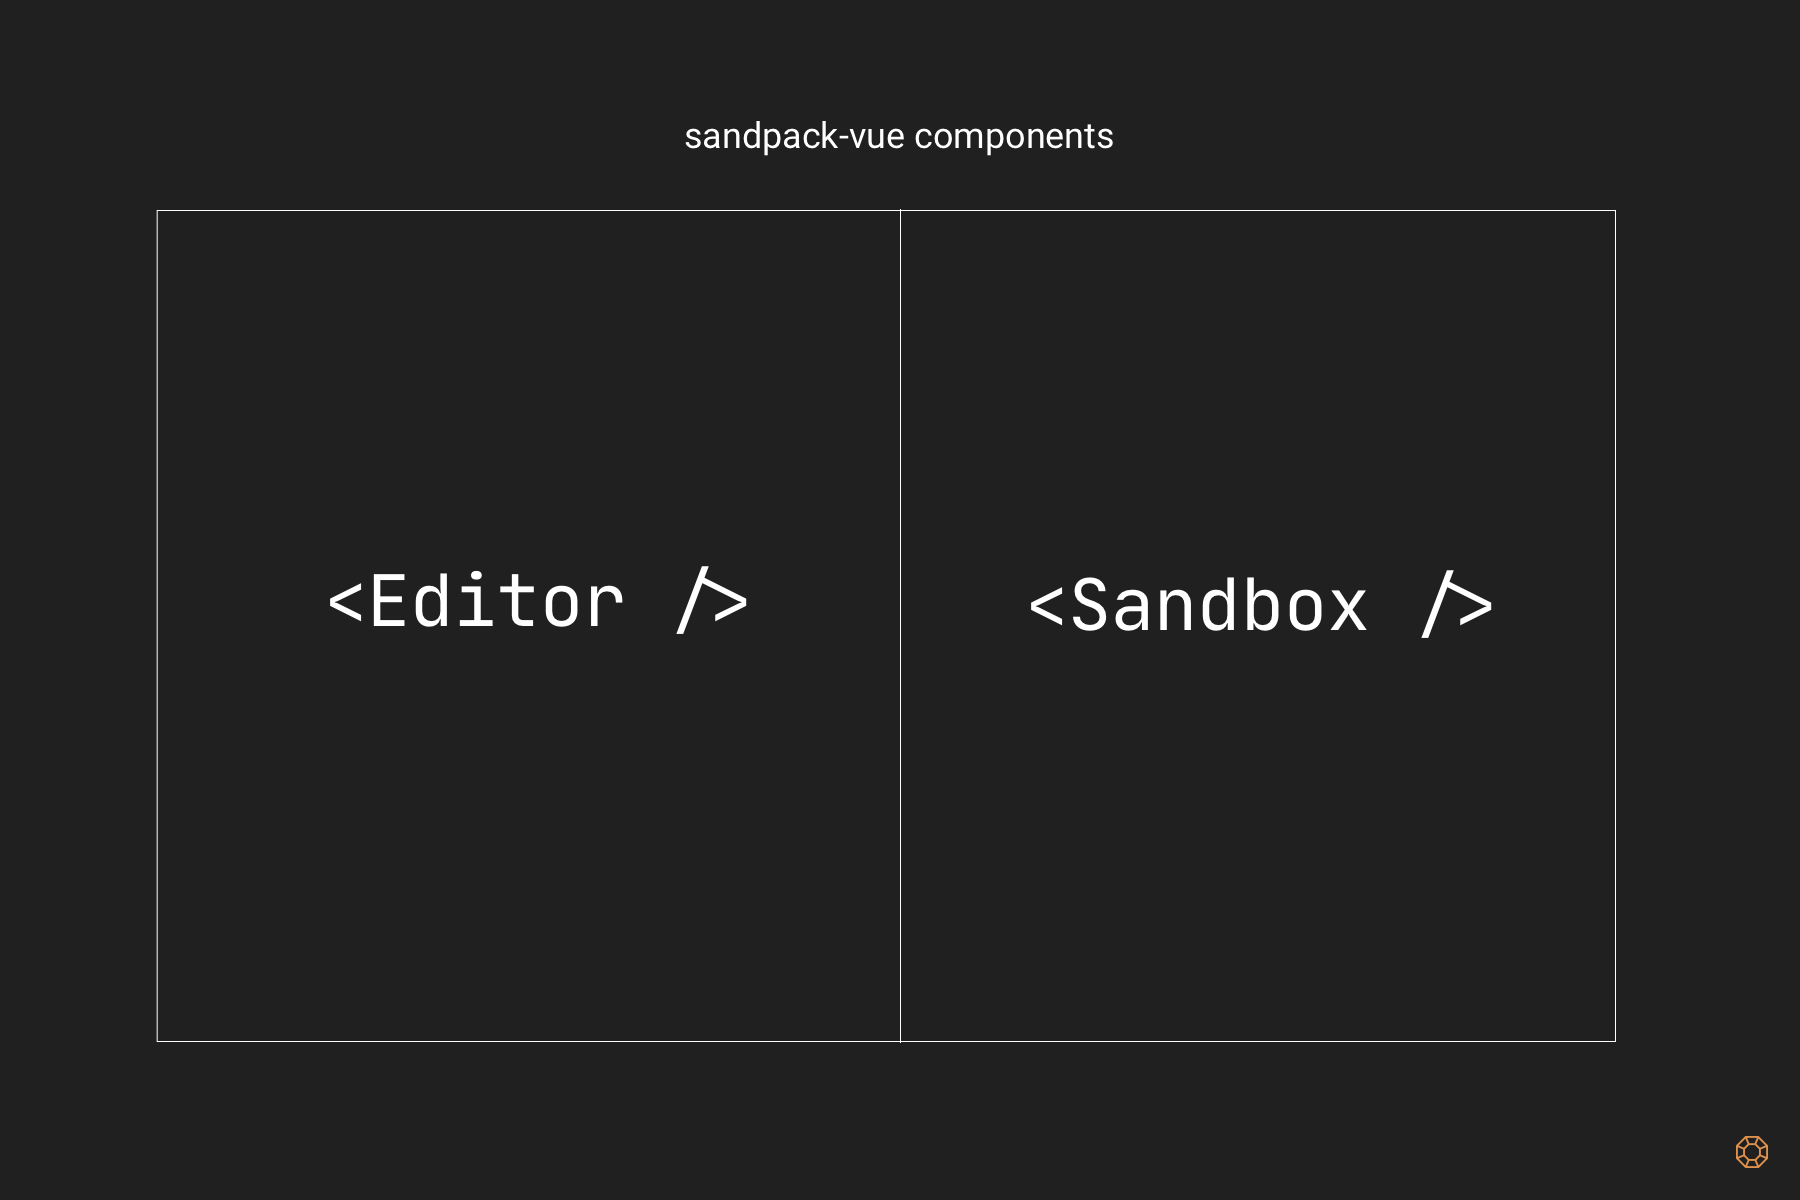
sandpack-vue provides Vue components that wrap Sandpack and add commonly used utilities. It provides 2 components: Sandbox and Editor. We will see below how they can be used.
Simple sandbox
We will start by creating a component that will render a static HTML page.
First, import the Sandbox component. You’ll also need to import style.css to import necessary component styling.
import { Sandbox } from 'sandpack-vue';
import 'sandpack-vue/style.css';
Second, provide files to be rendered, any project dependencies, and an entry point:
const info = {
  files: {
    '/index.html': {
      code: `<!DOCTYPE html>
      <html>
      <body>
      <h1>Hello Sandpack!</h1>
      <div id="app"></div>
      <script src="src/index.ts" />
      </body>
      </html>`,
    },
    '/index.js': {
      code: `import { v4 as uuidv4 } from 'uuid';
      document.getElementById("app").innerHTML = \`
      <div>
      $\{uuidv4()}
      </div>\``,
    },
  },
  entry: '/index.js',
  dependencies: {
    uuid: 'latest',
  },
};
Use the component:
<template>
  <Sandbox
    class="sandbox"
    :info="info"
  />
</template>
Optionally, you can style how the output component would look like by adding style rules to the Sandbox element:
.sandbox {
  width: 800px;
  height: 400px;
  border: 1px solid #2c3e50;
  border-radius: 4px;
}
Editor support
While rendering a static page might be useful in some contexts, often we want to have a dynamic sandbox where the rendered output depends on user input. This input is usually provided by the text editor that allows changing the code of one or multiple files.
First, import both Sandbox and Editor components. You can also import the File type if you’re using Typescript:
import { Editor, File, Sandbox } from 'sandpack-vue';
import 'sandpack-vue/style.css';
Second, create the code ref value that will store the file content:
const code = ref(`<!DOCTYPE html>
<html>
<body>
  <h1>Hello Sandpack!</h1>
</body>
</html>`);
Next, create a handler function that will update code ref based on user input:
function handleCodeChange(_index: number, value: string) {
  code.value = value;
}
Then, create the files computed to pass it to Editor as a prop:
const files = computed<File[]>(() => [
  {
    value: code.value,
    name: 'index.html',
    type: 'html',
    editable: true,
    visible: false,
  },
]);
Create an info computed to be passed to the Sandbox component:
const info = computed(() => {
  return {
    files: {
      '/index.html': {
        code: code.value,
      },
    },
    entry: '/index.html',
    dependencies: {},
  };
});
Finally, add both Editor and Sandbox components to the template:
<template>
  <div class="exercise">
    <Editor
      class="editor"
      :files="files"
      @change="handleCodeChange"
    />
    <Sandbox
      class="sandbox"
      :info="info"
      :options="options"
    />
  </div>
</template>
Multi-file editor
Having an editor available to update a single file is neat, but usually, you want to have multiple files. While providing a full-blown editable file system inside a browser is out of the scope of this article, I will show you how to make the Editor component render a file selector to toggle between files.
To enable a multi-file editor, first, you’d need to make files a ref instead of computed. We can also remove the code ref and rely on files to store file contents:
const files = ref<File[]>([
  {
    value: `<!DOCTYPE html>
<!-- First file will always be active, even if it's hidden. -->
<html>
<body>
  <h1>Hello from Sandpack!</h1>
  <p>This file is hidden</p>
</body>
</html>`,
    name: 'hidden.html',
    type: 'html',
    editable: true,
    visible: false,
  },
  {
    value: `<!DOCTYPE html>
<!-- Once hidden file is not active, it's impossible to open it. -->
<html>
<body>
  <h1>Hello Sandpack!</h1>
  <p>This file is visible</p>
</body>
</html>`,
    name: 'index.html',
    type: 'html',
    editable: true,
    visible: true,
  },
]);
We also need to update our handler to change files based on index:
function handleCodeChange(index: number, value: string) {
  files.value[index].value = value;
}
Finally, let’s update an info computed to fetch file contents from files ref:
const info = computed(() => {
  return {
    files: Object.fromEntries(
      files.value.map((file) => ['/' + file.name, { code: file.value }]),
    ),
    entry: '/index.html',
    dependencies: {},
  };
});
Editor theming
You can theme the editor component by providing a custom theme. Themes are compatible with Sandpack for React ↗.
You can choose from one of the themes bundled with the package:
import { getPredefinedTheme } from 'sandpack-vue';

const theme = getPredefinedTheme('sandpack-dark');
And use it in the Editor component:
<template>
  <div class="exercise">
    <Editor
      class="editor"
      :files="files"
      :theme="theme"
      @change="handleCodeChange"
    />
    <Sandbox
      class="sandbox"
      :info="info"
      :options="options"
    />
  </div>
</template>
You can see all built-in themes here ↗.
Alternatively, you can create a custom theme:
const theme: SandpackTheme = {
  palette: {
    activeText: '#de904d',
    defaultText: '#bababa',
    inactiveText: '#979797',
    activeBackground: '#2a2a2a',
    defaultBackground: '#343434',
    inputBackground: '#2e2e2e',
    accent: '#de904d',
    errorBackground: '#dac1fb',
    errorForeground: '#b08df8',
  },
  syntax: {
    plain: '#f0fdaf',
    comment: {
      color: '#757575',
      fontStyle: 'italic',
    },
    keyword: '#e5fd78',
    tag: '#f0fdaf',
    punctuation: '#ffffff',
    definition: '#eeeeee',
    property: '#e0a571',
    static: '#ffffff',
    string: '#dafecf',
  },
  typography: {
    bodyFont:
      'Inter, -apple-system, BlinkMacSystemFont, "Segoe UI", Roboto, Helvetica, Arial, sans-serif, "Apple Color Emoji", "Segoe UI Emoji", "Segoe UI Symbol"',
    monoFont:
      '"Fira Code", "Fira Mono", "DejaVu Sans Mono", Menlo, Consolas, "Liberation Mono", Monaco, "Lucida Console", monospace',
    fontSize: '14px',
    lineHeight: '1.6',
  },
};